导航
开始使用 Laminas
从skeleton application开始
为了创建我们的应用, 我们将利用托管在 GitHub 的 Laminas MVC Skeleton Application。 使用 Composer 从头开始创建一个新应用:
$ composer create-project -s dev laminas/laminas-mvc-skeleton path/to/install速度太慢可以选择阿里云或者腾讯云的镜像
// 安装 Composer
wget https://mirrors.cloud.tencent.com/composer/composer.phar
mv composer.phar  /usr/local/bin/composer

// 配置 composer 镜像
// 阿里云
composer config -g repo.packagist composer https://mirrors.aliyun.com/composer/

// 腾讯云
composer config -g repo.packagist composer https://mirrors.cloud.tencent.com/composer/

// 还原配置
composer config -g --unset repos.packagist
这将安装一组初始化依赖环境,包括:
- laminas-component-installer, 帮助自动化组件配置的注入到应用程序中.
- laminas-mvc, MVC应用内核.
默认提供一个运行laminas-mvc应用所需的最小依赖环境。然而,您可能一开始就有额外的需求,所以, 框架还提供一个安装插件以便安装多个项目。
首先,他会提示:
Do you want a minimal install (no optional packages)? Y/n提示和默认值
安装程序发出的所有可选项的提示。并且将提供一个首字母大写的默认项。默认项在空值时 按下 "Enter" 触发。在之前的例子中,"Y" 为默认值。
如果你的答案为 "Y", 或者直接按下回车,安装程序将在不列出任何附加提示的情况下完成安装。 如果你的答案是 "n", 它将继续提示你:
Would you like to install the developer toolbar? y/Ndeveloper toolbar 提供一个在浏览器工具栏定时的分析信息,可以在应用中调试时使用。鉴于本教程的目的, 我们暂时都不会去使用这个工具;选择是否安装都行。
Would you like to install caching support? y/N我们将不会再例子中使用缓存,所以,是否安装都行。
Would you like to install database support (installs laminas-db)? y/N我们将会在教程中使用zend-db扩展,所以,需要输入"y"并回车。您将会看见出现下面的文字:
    Will install laminas/laminas-db (^2.8.1)
    When prompted to install as a module, select application.config.php or modules.config.php
下一个提示是:
Would you like to install forms support (installs laminas-form)? y/N当前教程同样也会使用zend-form,所以我们需要再次输入"y"安装当前扩展; 同样也会出现提示信息。
这时,我们可以选择不安装其余剩下的功能:
    Would you like to install JSON de/serialization support? y/N
    Would you like to install logging support? y/N
    Would you like to install MVC-based console support? (We recommend migrating to symfony/console, or Aura.CLI) y/N
    Would you like to install i18n support? y/N
    Would you like to install the official MVC plugins, including PRG support, identity, and flash messages? y/N
    Would you like to use the PSR-7 middleware dispatcher? y/N
    Would you like to install sessions support? y/N
    Would you like to install MVC testing support? y/N
    Would you like to install the laminas-di integration for laminas-servicemanager? y/N
另外,您将会看见下面的提示:
Updating root package
    Running an update to install optional packages

...

Updating application configuration...

  Please select which config file you wish to inject 'Laminas\Db' into:
  [0] Do not inject
  [1] config/modules.config.php
  Make your selection (default is 0):
我们希望在应用中随时调用,所以,我们选择 1,这将会给我们一个如下的提示:
Remember this option for other packages of the same type? (y/N)这时,我们可以放心的选择 "y",这将意味着我们不会收到附加安装包的确认提示了。
(The only package in the default set of
prompts that you may not want to enable by default is Laminas\Test.)
一旦安装完成,这个骨架安装包将会被移除,我们就可以开始创建一个新的应用了!
直接下载 skeleton
另外一种安装 Laminas MVC Skeleton 应用的方式就是直接去 github下载压缩包。 进入: https://github.com/laminas/laminas-mvc-skeleton, 点击 "Clone or download" 按钮, 选择 "Download ZIP". 将会下载一个
laminas-mvc-skeleton-master.zip的文件.解压当前文件到vhosts对应的目录中 ,并且重命名为
laminas-mvc-tutorial.laminas-mvc-skeleton 使用 Composer 安装依赖。 laminas-mvc-tutorial 目录中运行如下的代码安装:
$ composer self-update
$ composer install
不久您将会看见下面的提示:
Installing dependencies from lock file
- Installing laminas/laminas-component-installer (2.1.2)

...

Generating autoload files
这时,您就可以安装上面个的教程来进行安装了。
Alternately, if you do not have Composer installed, but do have either Vagrant or docker-compose available, you can run Composer via those:
# For Vagrant:
$ vagrant up
$ vagrant ssh -c 'composer install'
# For docker-compose:
$ docker-compose build
$ docker-compose run laminas composer install
超时
如果您看见下面的提示信息:
[RuntimeException]
  The process timed out.
那么代表的您的网速过慢,无法下载composer。解决的办法是将下面的代码:
$ composer install替换成:
$ COMPOSER_PROCESS_TIMEOUT=5000 composer install使用 wamp 的 Windows 用户
使用 wamp 的 Windows 用户:
1. 安装 Windows 版的 Composer
并通过如下命令检查是否安装:
$ composer否则按照如下方式安装 installation guide for Composer.
2. 安装 Windows 版的 Git
并通过如下命令检查是否安装:
$ git否则按照如下方式安装 installation guide for GitHub Desktop.
3. 现在就可以安装 Skeleton 了
$ composer create-project -s dev laminas/laminas-mvc-skeleton path/to/install
现在我们可以开始web服务器的配置了。
Web Servers
在当前教程中,我们将使用几种不同的方式去安装web服务器:
- PHP 内置的 web服务器.
- 使用 Vagrant.
- 使用 docker-compose.
- 使用 Apache.
使用 PHP 内置的 web 服务器
当您在开发应用的过程中您可以使用PHP内置的Web服务器。安装如下的方式在项目根目录运行:
$ php -S 0.0.0.0:8080 -t public public/index.php网站将会监听所有入口的 8080 端口,并使用 public/index.php 处理路由。
这将意味着我们可以使用 http://localhost:8080
或者 http://<your-local-IP>:8080 访问站点。
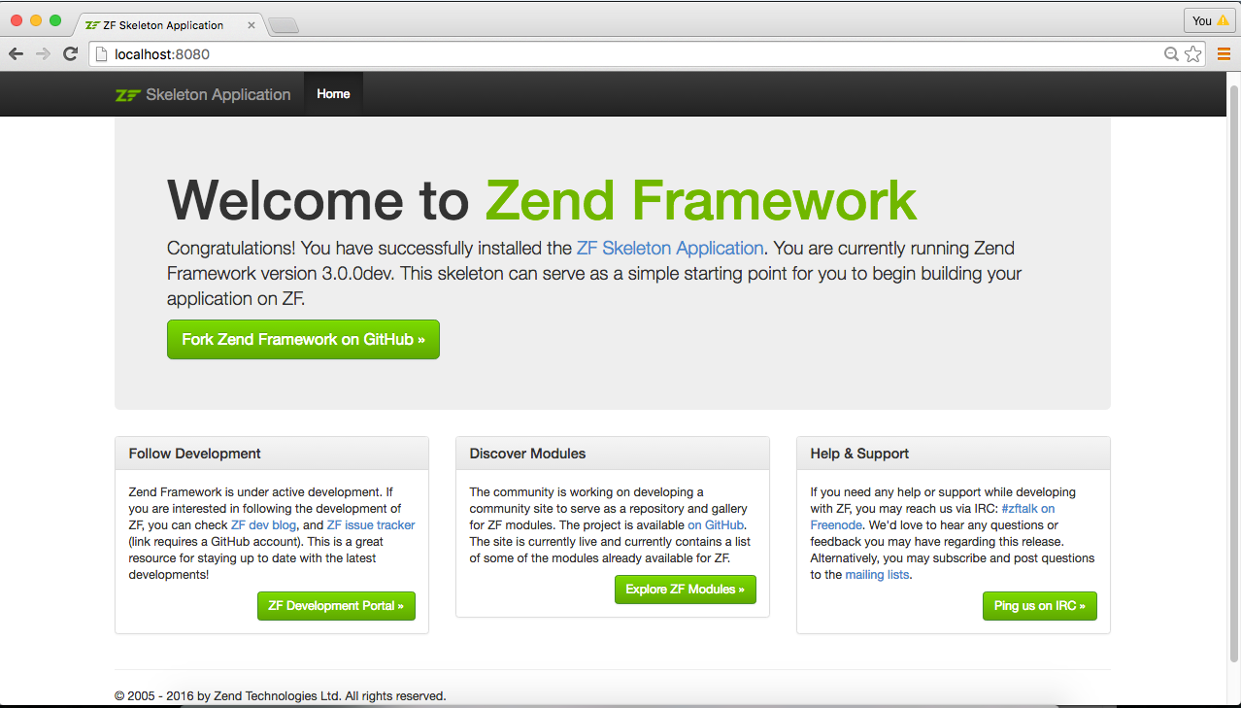
如果您配置正确,您将会看见下面的信息。
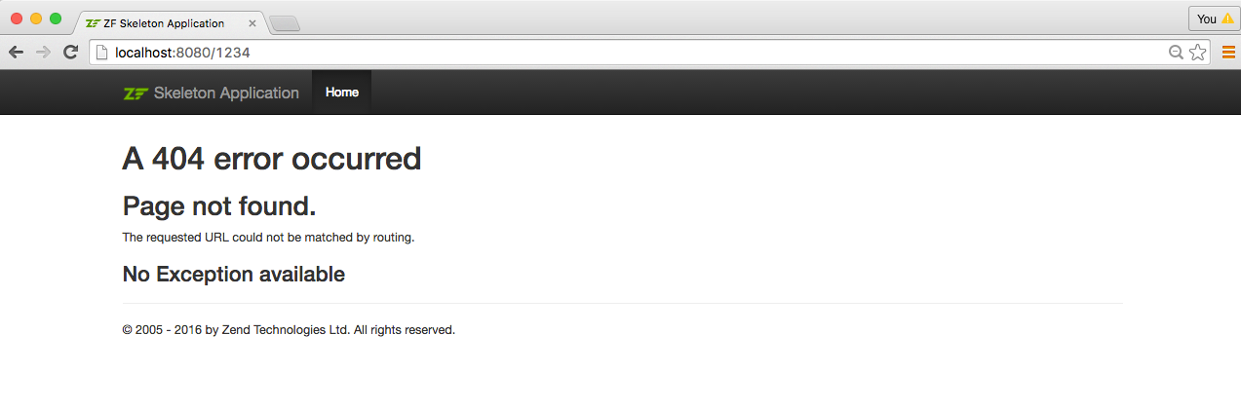
为了测试路由是否正常工作,您可以访问 http://localhost:8080/1234, 如果配置正确您
将会看见如下的 404 页面:
仅供开发使用
PHP 内置的 web 服务器 仅供开发的时候使用.
Using Vagrant
Vagrant provides a way to describe and provision
virtual machines, and is a common way to provide a coherent and consistent
development environment for development teams. The skeleton application provides
a Vagrantfile based on Ubuntu 14.04, and using the ondrej/php PPA to provide
PHP 7.0. Start it up using:
$ vagrant upOnce it has been built and is running, you can also run composer from the virtual machine. As an example, the following will install dependencies:
$ vagrant ssh -c 'composer install'while this will update them:
$ vagrant ssh -c 'composer update'The image uses Apache 2.4, and maps the host port 8080 to port 80 on the virtual machine.
Using docker-compose
Docker containers wrap a piece of software and everything needed to run it, guaranteeing consistent operation regardless of the host environment; it is an alternative to virtual machines, as it runs as a layer on top of the host environment.
docker-compose is a tool for automating configuration of containers and composing dependencies between them, such as volume storage, networking, etc.
The skeleton application ships with a Dockerfile and configuration for
docker-compose; we recommend using docker-compose, as it provides a foundation
for mapping additional containers you might need as part of your application,
including a database server, cache servers, and more. To build and start the
image, use:
$ docker-compose up -d --buildAfter the first build, you can truncate this to:
$ docker-compose up -dOnce built, you can also run commands on the container. The docker-compose configuration initially only defines one container, with the environment name "laminas"; use that to execute commands, such as updating dependencies via composer:
$ docker-compose run laminas composer updateThe configuration includes both PHP 7.0 and Apache 2.4, and maps the host port 8080 to port 80 of the container.
使用 Apache Web Server
我们假定您已经安装了 2.4版本的Apache, 并且将不介绍如果去安装Apache。并且只提供当前本版本的配置信息。
您需要为您的应用创建一个Apache virtual host,
使得主机 http://laminas-mvc-tutorial.localhost
将会指定到 laminas-mvc-tutorial/public/ 目录的 index.php。
在 httpd.conf 或者 extra/httpd-vhosts.conf中设置虚拟主机。如果您使用的是
httpd-vhosts.conf 请确保 httpd.conf 中引入了当前文件。一些Linux发行版
(例如: Ubuntu) Apahce配置文件位于 /etc/apache2,并且在 /etc/apache2/sites-enabled
目录下创建一个虚拟主机文件。在这个例子中我们将创建一个 /etc/apache2/sites-enabled/laminas-mvc-tutorial
文件。
确保定义了 NameVirtualHost 并且监听了 *:80 或者类似的端口,接下来定义一个如下行的虚拟主机:
<VirtualHost *:80>
    ServerName laminas-mvc-tutorial.localhost
    DocumentRoot /path/to/laminas-mvc-tutorial/public
    SetEnv APPLICATION_ENV "development"
    <Directory /path/to/laminas-mvc-tutorial/public>
        DirectoryIndex index.php
        AllowOverride All
        Require all granted
    </Directory>
</VirtualHost>
确保您的 /etc/hosts 或
c:\windows\system32\drivers\etc\hosts 文件
使 laminas-mvc-tutorial.localhost 指向了 127.0.0.1。
那么久可以使用 http://laminas-mvc-tutorial.localhost 来访问了。
127.0.0.1 laminas-mvc-tutorial.localhost localhost重启 Apache.
如果您配置成功,您将会看见和 the PHP built-in web server 中同样的结果。
测试 .htaccess 是否工作,进入
http://laminas-mvc-tutorial.localhost/1234您将会看见
一个如前的404页面。
如果您看见的是Apache的404错误页面,您就需要检查您的
.htaccess 文件,再继续下面的步骤。
如果你使用的是IIS的URL重写模块,需要导入如下信息:
RewriteCond %{REQUEST_FILENAME} !-f
RewriteRule ^ index.php [NC,L]
现在我们已经拥有了一个应用骨架,可以开始构建我们的应用了。
错误报告
通常, 使用 Apache 的时候, 我们可以在 VirtualHost 中使用 APPLICATION_ENV 来设置
在浏览器中显示错误。这在我们开发应用的过程中是非常有用的。
编辑 laminas-mvc-tutorial/public/index.php 做如下修改:
use Laminas\Mvc\Application;
use Laminas\Stdlib\ArrayUtils;

/**
 * Display all errors when APPLICATION_ENV is development.
 */
if ($_SERVER['APPLICATION_ENV'] === 'development') {
    error_reporting(E_ALL);
    ini_set("display_errors", '1');
}

/**
 * This makes our life easier when dealing with paths. Everything is relative
 * to the application root now.
 */
chdir(dirname(__DIR__));

// Decline static file requests back to the PHP built-in webserver
if (php_sapi_name() === 'cli-server') {
    $path = realpath(__DIR__ . parse_url($_SERVER['REQUEST_URI'], PHP_URL_PATH));
    if (__FILE__ !== $path && is_file($path)) {
        return false;
    }
    unset($path);
}

// Composer autoloading
include __DIR__ . '/../vendor/autoload.php';

if (! class_exists(Application::class)) {
    throw new RuntimeException(
        "Unable to load application.\n"
        . "- Type `composer install` if you are developing locally.\n"
        . "- Type `vagrant ssh -c 'composer install'` if you are using Vagrant.\n"
        . "- Type `docker-compose run laminas composer install` if you are using Docker.\n"
    );
}

// Retrieve configuration
$appConfig = require __DIR__ . '/../config/application.config.php';
if (file_exists(__DIR__ . '/../config/development.config.php')) {
    $appConfig = ArrayUtils::merge($appConfig, require __DIR__ . '/../config/development.config.php');
}

// Run the application!
Application::init($appConfig)->run();
开发模式
在我们开始之前,我们需要在应用中开启 开发模式。这个骨架应用提供两个文件,允许我们 在任何时候指定开发模式;其中包括启用调试或者允许在视图中显示错误,这些文件位于:
config/development.config.php.distconfig/autoload/development.local.php.dist
接下来我们启用开发模式,复制文件如下:
config/development.config.phpconfig/autoload/development.local.php
这将允许他们合并到我们的应用中,当我们需要移除开发模式的时候,直接删除当前文件,保留
.dist 版本就行。 (The repository also contains rules to ignore the copies.)
开启开发模式:
$ composer development-enable千万不要在生产环境中使用开发模式
不要在生产环境中启用开发模式,特别是这将启用调试模式! 如前所述,启用开发模式将会暴露您的资料库. 所以为了应用的安全,确保您没有在生产环境中运行。
您可以使用如下命令检查您的环境:
$ composer development-status禁用环境:
$ composer development-disable
发现错误或者想为此文档做贡献? 来 GitHub 编辑!